Microsoft Azure
If you are using Microsoft Azure to host your staging environment, you will need to configure inbound and outbound traffic security rules through a network security group in order to control permissions which manage access restrictions to your staging environment in order to allow scanners.acunetix.com access to a web application.
In order to create a network security group in Microsoft Azure, select the ‘New’ button on the left-hand-side menu, this should display a list of resources you can create. Select Networking > Network security group.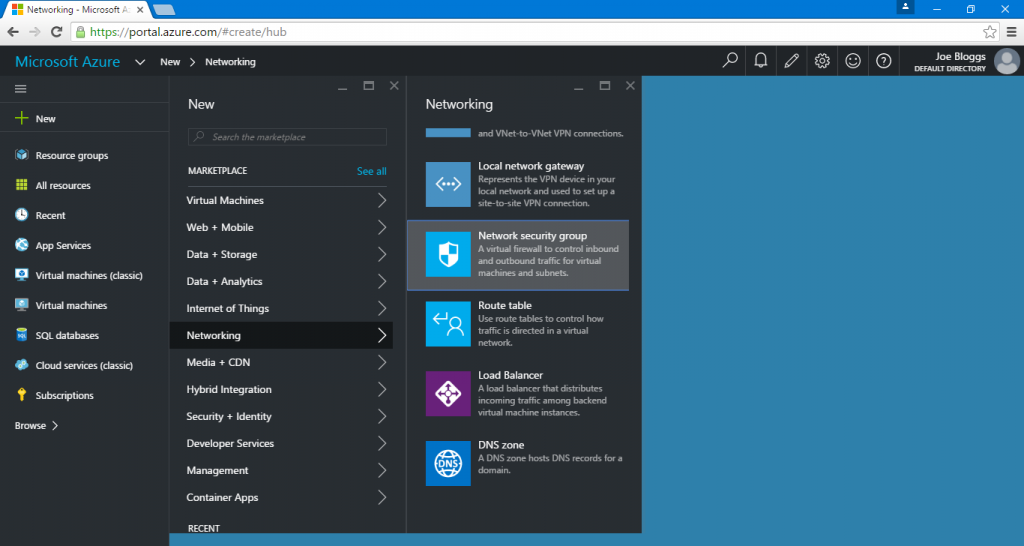
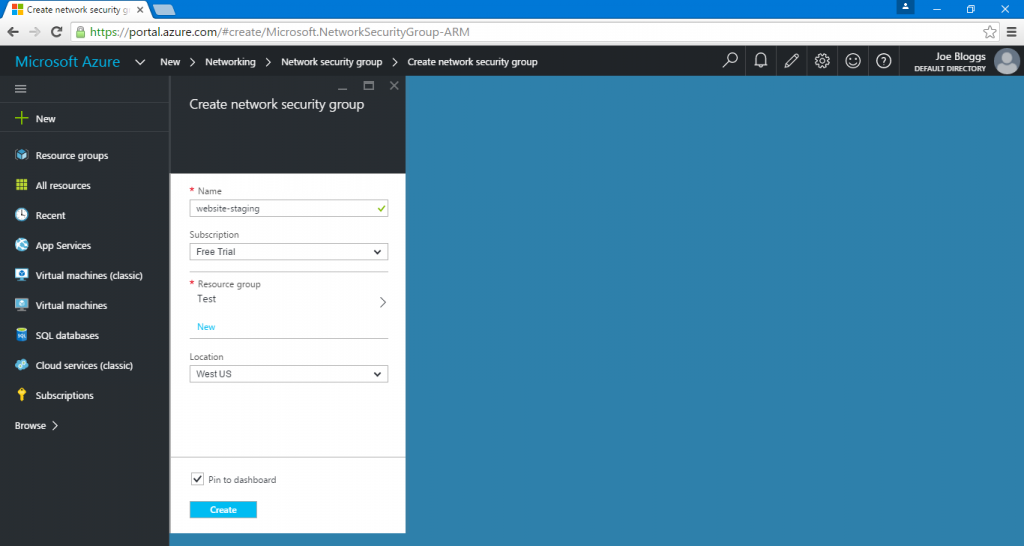
You will then be presented with a description of the resource. Ensure that the deployment model is set to ‘Resource Manager’ and click the ‘Create’ button.
The wizard will then ask you to provide the network security group with a name, subscription, resource group and a location.
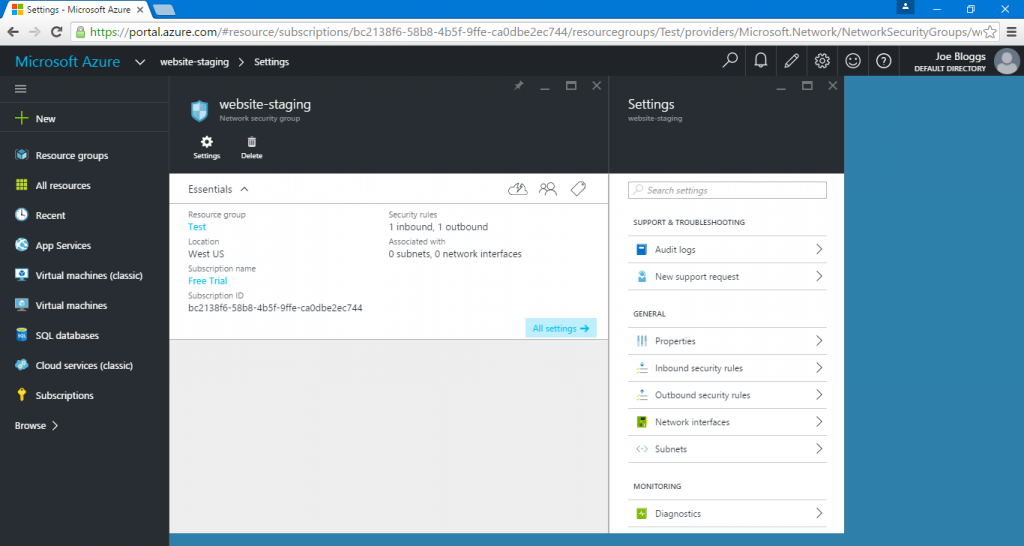
The new network security group will take a few seconds to create. As soon as it has finished setting itself up, you will be presented with a screen which allows you to modify the network security group’s settings, this is where we’ll need to add our configuration to allow access to Acunetix Online.
The process described below will have to be gone through twice, once for an inbound and once for outbound security rule.
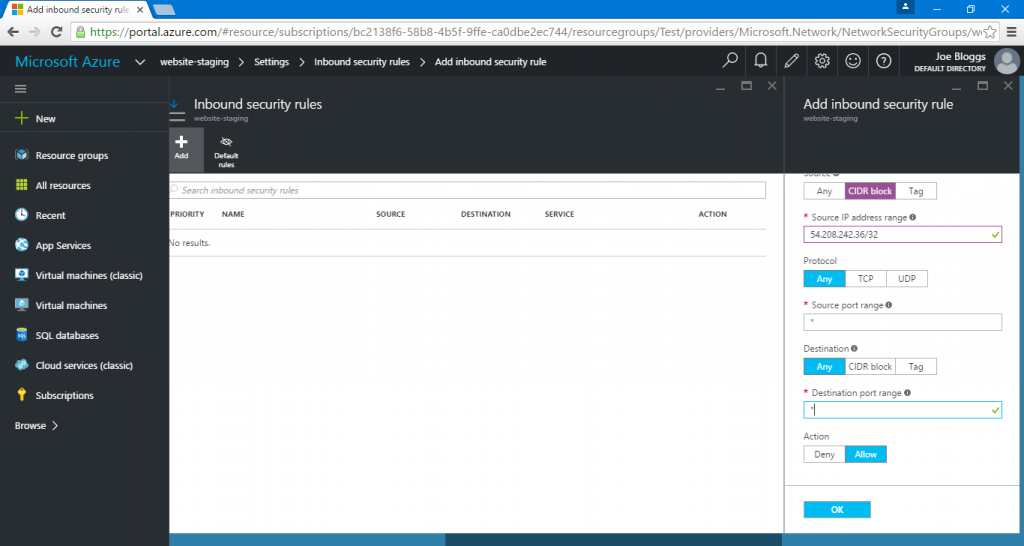
Select Inbound security rules > Add. This will reveal a new panel, allowing you to configure the new security rule. Configure the rule with the following settings.
- Provide an appropriate name for the rule
- The Priority field can remain at it’s default value
- Set the Source to a CIDR block with a Source IP address range of 54.208.242.36/32. This is the IP address used by Acunetix Online for all scans. The /32 CIDR means that we are only allowing this single IP address through.
- Set the Protocol to Any
- Set the Source port range to ‘ * ’ (without quotation marks). This means that the rule will allow connections on all ports. This is important if you are running perimeter network scans with Acunetix Online.
- Set the Destination to Any
- Set the Destination port range to ‘ * ’ (without quotation marks). This means that the rule will allow connections to all ports
- Set the Action to Allow
- Select the OK button to confirm
Once both rules are in place, you should have two security rules within the network security group, one for allowing traffic inbound (from Acunetix Online), the other for allowing traffic outbound (to Acunetix Online).
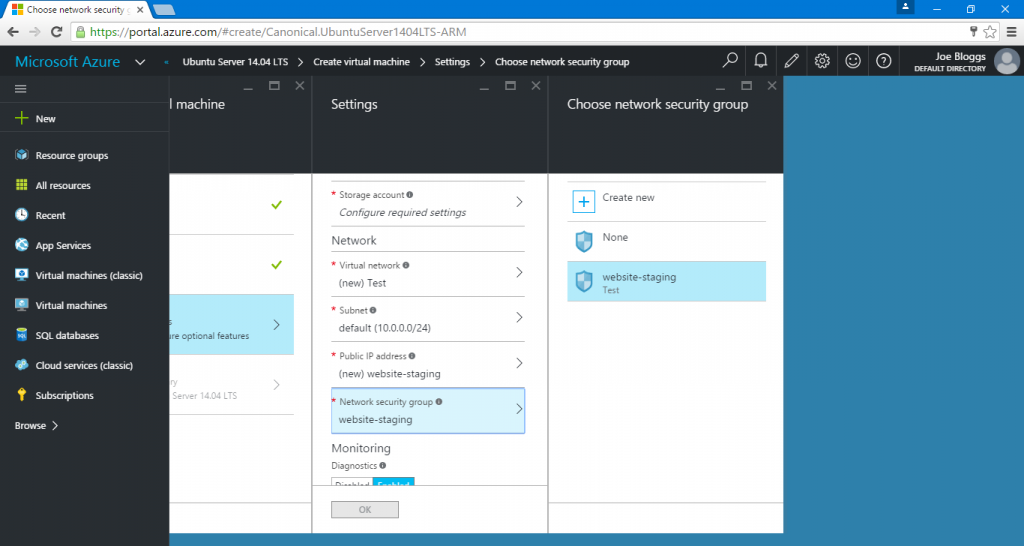
You may then assign your security group to a new, or existing virtual machine. The screenshot below shows us assigning the security group during the creation of the virtual machine.
For further information about network security groups in Micorsoft Azure, visit the official documentation. Further information about network security groups is also covered in this blog post by Microsoft.
